


Thursday, July 18, 2013
~Feel Better Soon
One of my BFFs took a tumble a couple of weeks ago and I was so busy working on my kitchen at the time that I didn't have time to make a card until now. She loves all things nature, so I thought this card (inspired by one in an old issue of Paper Creations) would cheer her up as her bruises heal. The little bird was cut from Artiste at 1.5" in red polka dot, blue and yellow. I hand cut the blue overlay and the yellow wing from those pieces and layered and stitched over the red polka dot. The eye was hand drawn. I machine stitched the branch and also stitched on the leaves created from Sophie at .5". I inked the edges with dark green ink and crinkled them up a bit. I added some trim from my stash which I threaded a burlap thread (left over from a wreath I made) through and tied a bow. The papers came from 6x6 WRMK Anthologie & AC Celebrations. Thanks for stopping by!


~Welcome Wreath
Provocraft gave us a free Cricut Craft Room project this week for Welcoming students back to school. While I am not a teacher, I did download this project and modify it for our Vacation Bible School students. I removed the "to School" phrase from the original project and added "to VBS" using Hello Kitty font as 1.25". I'm sure the VBS teachers will enjoy this. This is the first wreath that I have made and I had no idea how much material it takes to wrap those foam forms! Egads! It was a fun project though, especially inking all those leaves (and there are bunches!). Thanks for stopping by!

Sunday, July 14, 2013
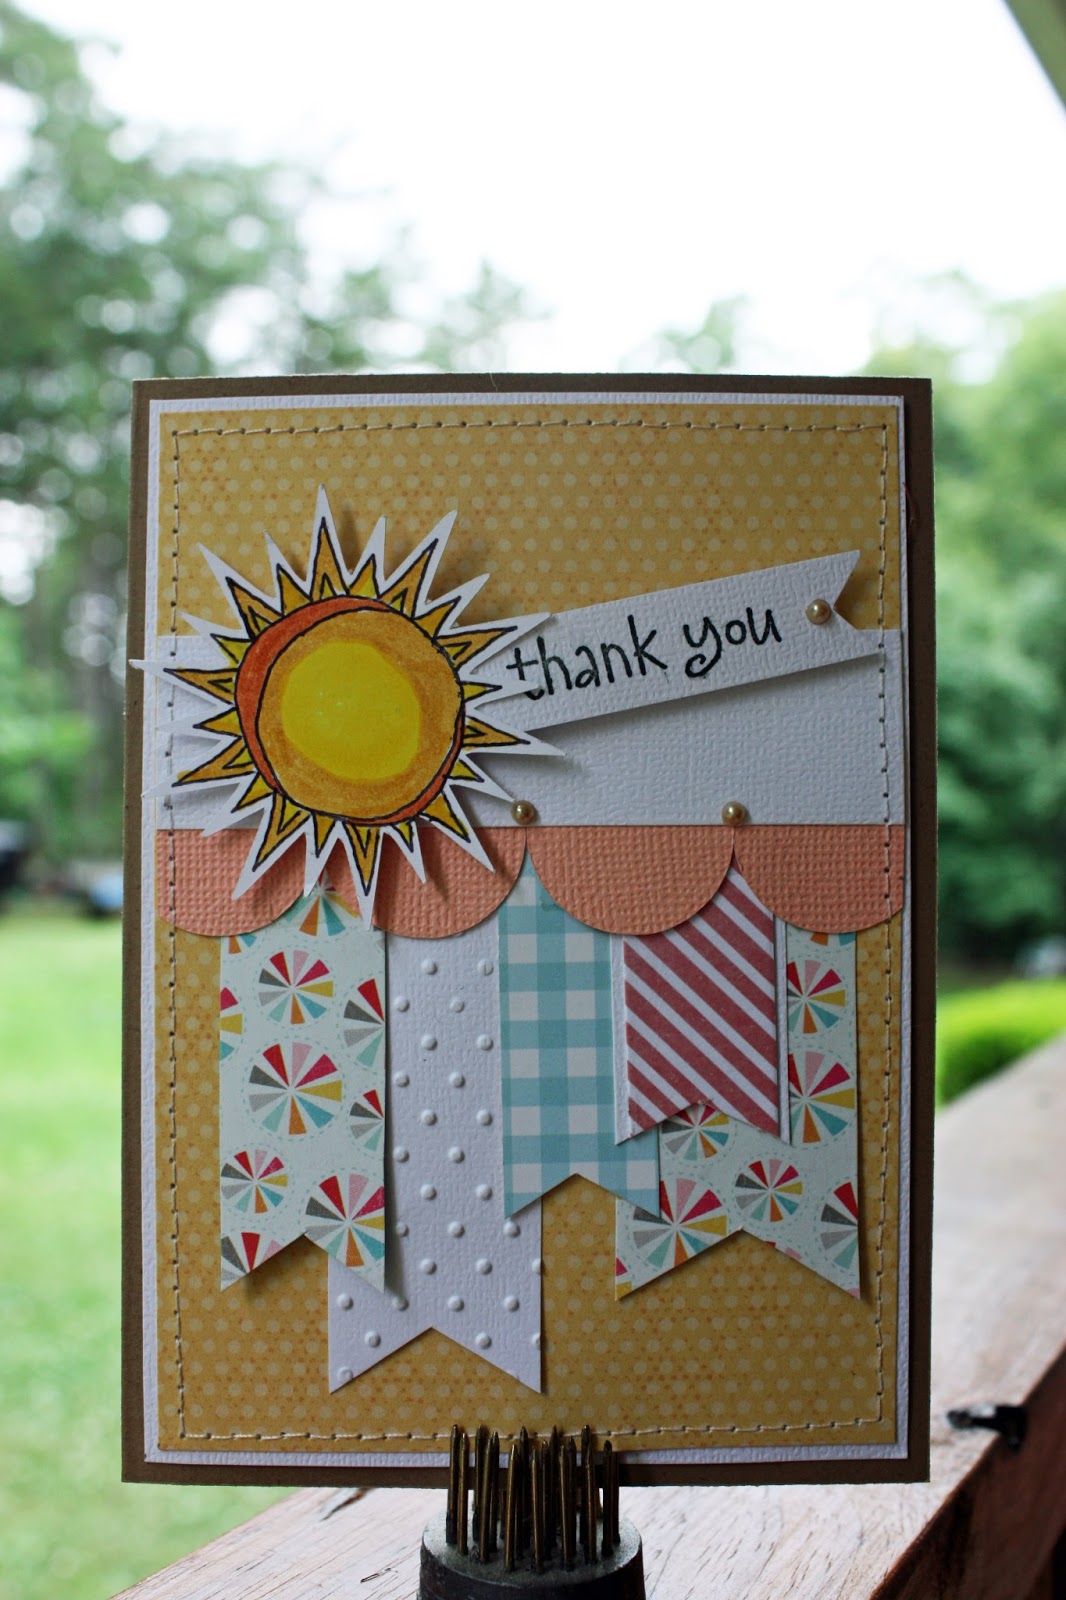
~A simple Thank You card
I spotted this card in an issue of Paper Creations magazine and the simplicity of it just jumped out at me. I think it was a Birthday card in the magazine, but I needed a Thank You card, so I adapted it. I cut the sun on white paper at 2.25" from Celebrate with Flourish. The circles were cut at 1". All the banners were hand cut from coordinating patterns and the card front was then stitched before being adhered to kraft cardstock. I had lots of fun coloring and hand doodling the sun and hope to incorporate more embellishments like this on my cards. Thanks for stopping by!

Friday, June 21, 2013
~Graduation Card
My husband asked me to make a graduation card for a student that he tutored in math many years ago when he was a substitute teacher He kept up with this young lady and her mother over the years and now that little 5th grader who struggled with math is graduating with a 3.95!!
I found the school colors on the internet (gotta love google!) and made the card below. We wrote a check and wrapped it in pretty ribbons and that went under the clip on the good luck doodad inside the card, along with a handwritten note. The cut on the front is from Happy Graduation, cut at 3 inches. I inked all the white pieces of the card with burgundy distress ink. This was a very simple card to make, but the colors just make it look so elegant. I hope she likes it, but I'm sure as a 17 year old, she'll be more focused on the $$$. Thanks for stopping by!


I found the school colors on the internet (gotta love google!) and made the card below. We wrote a check and wrapped it in pretty ribbons and that went under the clip on the good luck doodad inside the card, along with a handwritten note. The cut on the front is from Happy Graduation, cut at 3 inches. I inked all the white pieces of the card with burgundy distress ink. This was a very simple card to make, but the colors just make it look so elegant. I hope she likes it, but I'm sure as a 17 year old, she'll be more focused on the $$$. Thanks for stopping by!


Sunday, May 12, 2013
~NSD Challenge - EIEIO
My eight and final challenge for NSD week was to create a project using a barnyard animal. This of course forced me to use another cartridge that I've never looked at. It also required some thought as to how to incorporate a barnyard animal into the summer layout I had in mind. I chose the chicken at 2" from Country Life. Since Tacoah has her shades on, I figured it fits with One Cool Chick.
This has been a really fun week and if I had had more time, I would have done more of the challenges. I may do them anyway, at a somewhat less frenetic pace. ;-) Thanks for stopping by!

This has been a really fun week and if I had had more time, I would have done more of the challenges. I may do them anyway, at a somewhat less frenetic pace. ;-) Thanks for stopping by!

Saturday, May 11, 2013
~NSD Challenge - CCR - Creating a split letter monogram
NSD Challenge #7 begins with a fabulous CCR tutorial by Narelle on how to create a split letter Monogram. These make wonderful anniversary or wedding or housewarming gifts and can be mounted in a glass frame or pretty much any solid surface. I chose a $1.99 bread board from Michael's. First I covered each side and the outer edges with a different pattern paper and applied modge podge. Once that was dry, I applied my vinyl monogram. Two more coats of modge podge went on top of that because I want to attach this to one of my porch posts. I threaded some raffia through the hold to hang it. I did not use CCR for this project. I used my Gypsy, so I had to do the last part of the tutorial by hand since my Gypsy just did not want to cut it correctly. Anyway, below is my finished project and I can alternate the side that shows. Thanks for stopping by!


Friday, May 10, 2013
~The Tooth Fairy Cometh
Ok, so right in the middle of National Scrapbooking Day challenge week, my granddaughter loses her FIRST tooth! Now I'm trying to be crafty and get a bunch of these challenges done and I am being told at 6pm that I MUST create a box to hold said tooth no later than 8pm (bedtime)! eek! Ok, so rather than trying to turn this into one of the challenges, I used the opportunity to help out on one of the Circle Cart threads. I knew that when this day arrived, I would use Something to Remember some how, some way, to document (and I will most certainly do a layout). I used my Imagine for this, so I have no idea what cart I used for the box??? So, just for the tooth fairy I created the following. The fairy and phrase are both cut at 2". Not bad for 2 hrs notice. ;-) This box will make it's way onto the layout eventually as well. Thanks for stopping by!


Subscribe to:
Posts (Atom)